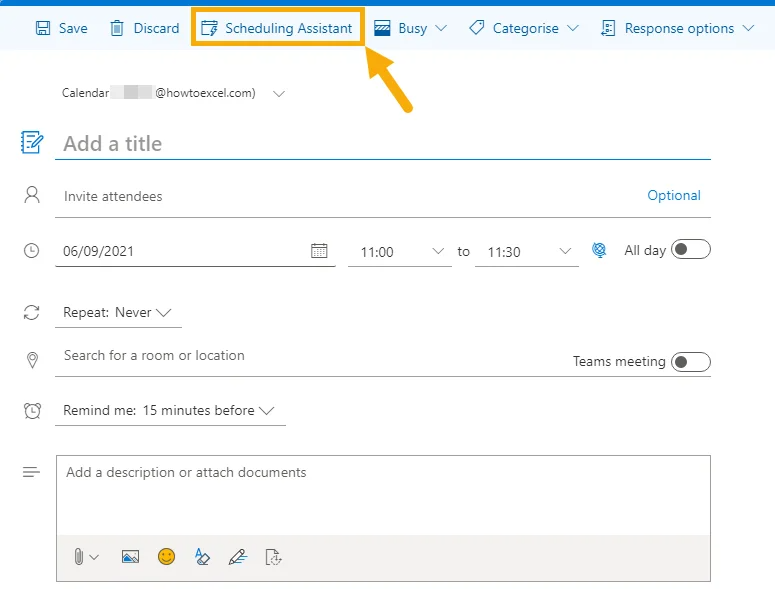
Before planning a meeting, you cancheck on the availability of colleagues and rooms using Scheduling Assistant. It consists of a scrollable horizontal calendar that shows which time blocks are free and which ones aren’t.

Press the New event button to find the Scheduling Assistant option in the pop-up window.

- Choose a meeting date and time (or click on the time block and resize the highlighted area).
- Add required attendees for the meeting.
- Add optional attendees for the meeting.
- Enter the room name or browse with Room Finder.
- Click Done to confirm.
Assign Categories to Event
Assign categories to calendar events so they are grouped according to the project, task or person they relate to.

Use the Categorise dropdown in the New event window to select a category. Assign more than one by going back to the dropdown and choosing another.
Press New category to add a new one or Manage categories to be taken to Settings ➜ General ➜ Categories.

You can edit or delete an existing category using the pencil and trashcan symbols, respectively.
Create new ones by clicking + Create category, or add the category to your favourites with the star icon. This will make it appear in your folder pane.
Was this article helpful?
That’s Great!
Thank you for your feedback
Sorry! We couldn't be helpful
Thank you for your feedback
Feedback sent
We appreciate your effort and will try to fix the article